|
| All in! |
I hosted a game at the club at last Saturday's meeting using my terrain and figures in preparation for our annual club open day which will be held later in August. I took the Spanish, John R. took the Anglo-Portuguese command and Darren and Geoff shared the French forces.
The scenario is set in the Iberian Peninsula during one of Wellington's periodic forays into Spain. The French have had to concentrate their forces in order to confront the Allied threat, allowing the Spanish forces to regroup and cause a bit of havoc. The French commander has taken all his ill-gotten gains (loot, booze, floozies etc.) with him in the baggage train and has threatened to send the officer who loses it on the next courier mission to Paris alone through the most guerrilla infested country he can find! I created some special rules to replicate the looting spree which happened after Joseph's baggage was captured at the tail end of the Battle of Vittoria where the unit which captures the train has to roll to see if they stay in control; if they fail, they become a frenzied mob intent only on pillage! Once one unit cracks, any unit from either side with in a certain radius then also has to check for control, potentially causing a free-for-all of epic proportions! The French had to secure a crossing point either at the bridge in the village, or at a ford to get the baggage train across.
I set up the table with lots of terrain (some of which is still under construction as the keen-eyed will have spotted!)) to make it more visually appealing, but in the evaluation after the game it turned out that it was too crowded which made attacking the bridgehead, in particular, very difficult. In the replay, I'll make the river shallow at all points, to make attacking easier, but still require the baggage to use the bridge or ford. I'll also spread the fields a bit more widely to make it a little easier to attack the BUAs surrounding the bridge. Also, the entrenched Spanish artillery did not fire a single shot and were effectively useless for the entire game!
Anyway, the game started off with the Spanish holding the village around the bridge, and both the French and Anglo-Portuguese entering the board on the same side of the table on either side of the river. I wanted to emulate the opening stages of the Battle of Salamanca where Marmont and Wellington stalked each other for miles before the opening shots were fired, but on reflection the table-top was too small and crowded for this to be duplicated. I'll try having the opposing forces approach from opposite corners to give both sides, but especially the attacking French, more room to maneuver.
French and British skirmish screens shielded their respective main forces and checked for crossing points, while the Spanish held the bridge crossing. The French divided their forces either side of a ridgeline, Geoff's force following the road along with the baggage train, while Darren took his on a long march along the table to outflank the village. John, likewise, sent a force on ahead consisting of the horse gun battery (with rockets!), the majority of the cavalry and a brigade of infantry. The rest of the Anglo-Portuguese forces deployed along the river to block any attempted crossing of the river.
 |
| Spanish start on garrison order, holding the bridge and village |
 |
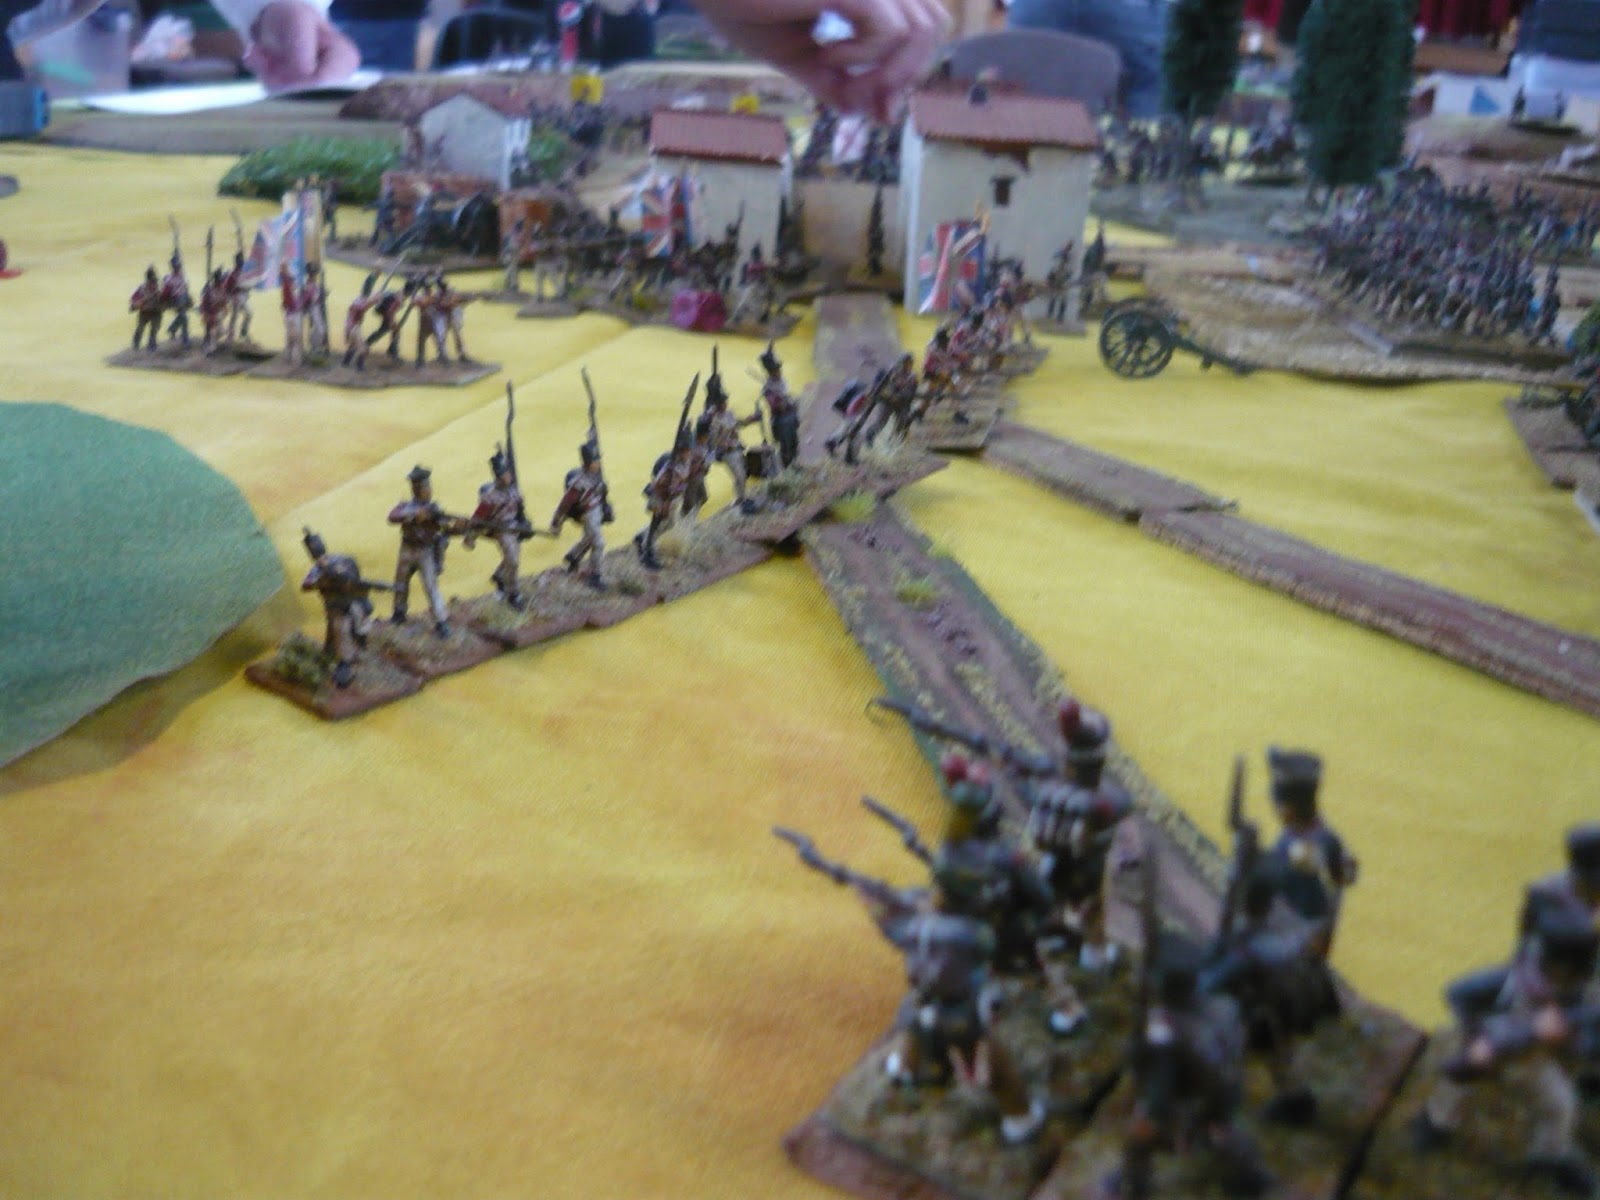
| The advancing French hordes! |
 |
| The British shadow on the other side of the river |
 |
| The Spanish hold tight |
Geoff tried to shoo off the British skirmish screen with his own skirmish line, but the Rifles and 71st Glasgow Highland LI proved too hard a nut to crack. While his skirmishers and a couple of columns ensured the flank of the French advance wasn't interfered with, the head of his column penetrated the woods in front of the bridge crossing in a move to flank the BUA on the French side. This is where I sprang my fiendish trap: Guerrilla ambush! Of course being appalling shots, they missed everything and didn't even act as a speed hump, incurring casualties instead of inflicting them.
 |
| Taran-ta-ra! |
 |
| Light Dragoons to the front! |
 |
| Surprise! Nobody expects the Spanish.....guerrillas! |
 |
| The Spanish view of the French advance |
Geoff was busily getting nowhere trying to defeat the British skirmish screen, and actually suffering casualties. John was steadily moving his troops into position behind the cover of his skirmish screen, so in hindsight Geoff was wasting his time trying to defeat the skirmishers before attempting to cross the river. But the head of Geoff's column was making its way through the woods, ignoring the guerrillas, and forming up ready to attempt an assault on the BUA on the French side of the river.
 |
| John's British forces' view across the river |
 |
| The vital baggage convoy! |
Meanwhile, Darren's force had marched all the way around past the village and started to cross the river in the rear of the Spanish position. The Spanish cavalry deployed into line but stayed back behind the cover of the nearest hill after French artillery unlimbered and fired, covering the crossing. By this stage, the nearest British cavalry were approaching, so I took command of them and the infantry brigade close behind.
 |
| Darren reaches the river behind the Spanish position... |
 |
| ....and prepares to cross! |
 |
| A full table view of the French preparing to cross behind the Spanish position. The British support is still a fair way behind. |
 |
| The horse gun battery and rocket troop set up on the nearest ridge, but too far away to interfere with the French crossing. |
 |
| John's Portuguese occupy the vineyard. |
My Spanish cavalry took the job of screening the approaching French after Darren's troops advanced to the river. They were soon persuaded to shelter behind the hill after the French horse gun battery knocked off a figure. The French infantry then crossed under the cover of the artillery and their cavalry to establish a foothold on the Allied side of the river. The Spanish cavalry kept a watching brief while awaiting the arrival of the British cavalry.
 |
| Darren crosses the river in a combined arms action. |
 |
| The Spanish cavalry attempt to outflank the French crossing, but only end up presenting their flank to the enemy! |
I was caught flat footed by Darren's hussars who charged while the Spanish were redeploying to meet the threat. The Spanish light infantry were deployed in line, covering another battalion of infantry marching in closed column to the right. The hussars charged the line, but the light infantry failed to form square and cracked under pressure scattering to the four winds! The infantry in closed column marching perpendicular to the action was next, copping the charge in its flank. Astonishingly, they only suffered a minor defeat, still facing the enemy with a couple of disorders!
 |
| The Spanish light infantry move up to protect the flank of the nearest BUA, but only succeed in triggering an opportunity charge by the French hussars! |
 |
| Run away! |
 |
| After smashing the light infantry, the hussars careen into the flank of the la Patria regiment... |
 |
| ...who take it in their stride! |
My next move included moving the nearest infantry battalion onto the flank of the hussars and then charging the newly arrived British heavy cavalry. This proved more successful than I anticipated, as the hussars fled before contact leaving my dragoons to roll for control. Being British heavies, they went battlemad, natch, ending their wild charge on the river's edge, perfectly placed for the French artillery to blast them in the flank!
 |
| Another Spanish infantry battalion approaches the hussars' flank... |
 |
| ...while the British heavy dragoons begin their charge. |
 |
| Crash! |
 |
| BATTLEMAAAADDD!!!!! |
 |
| The French gunners lick their lips at a nice flank shot... |
 |
| ...and send the dragoons running back whence they came! |
Darren's infantry was crossing in force by now. If I'd been a bit more adventurous, I would have thrown in the Spanish cavalry, but I left them where they were only to have skirmishers appear on their flank and rear and begin peppering them. I hurriedly tried to move the rest of the Spanish cavalry to that flank to repel the skirmishers and moved the remaining British cavalry to threaten the French infantry. By now, the British infantry were beginning to arrive, so I put them in a position to protect the nearest Spanish-occupied BUA. In the first blunder of many, I parked my horse guns in a way which commanded the approach to the BUA, but left their flank wide open to attack. The guns also masked the infantry, so the infatntry were unable to support the artillery in the event of an attack, which of course was coming!
 |
| Pesky skirmishers fire on the Spanish cavalry from flank and rear. |
 |
| Darren's french infantry begin their advance, but the Spanish cavalry are reluctant to take them on while Darren's chasseurs are in support. |
 |
| After helping disperse the French hussars, the Spanish infantry are fired in the flank by a line of French light infantry... |
 |
| ...and are forced back. |
 |
| Back on the other side of the table, John establishes a line with cavalry support behind the skirmish line, daring Geoff to attempt the crossing |
Back on the other side of the river, Geoff launched his attack a the BUA on the French side of the river. Charging out of the woods and suffering casualties from fire from the infantry in the BUA as well as supporting fire from the Walloon Guards were factors against success, but the clincher was rolling a 1 for his pre-melee check! His charge stopped short of his target with 2 disorders on all three battalions. From then on, Geoff was busy keeping John at bay, while Darren took over the duty of trying to secure the bridge.
 |
| However, Geoff has other ideas and charges out of the woods at the BUA on the French side of the river. |
 |
| Charging out of the woods, suffering casualties and rolling rubbish pre-melee means that his attack failed and his regiment fled to safety in the woods! |
Darren suckered my light dragoons into attacking by moving a closed column of infantry forward. The inevitable draw resulted in the light dragoons falling back to where they started from, blown and with disorders. With my cavalry now otherwise engaged, Darren was free to deal with my ill-positioned horse-gun battery! While he did smash it, his infantry were left in a vulnerable position, isolated in column in front of a British regiment in line. After a brutal firefight with the line, the French battalion was then charged in the flank by a Spanish infantry column, causing it to break like the wind!
 |
| Darren tempts an opportunity charge on his closed column, which I duly accept! |
 |
| The light dragoons are forced back, even though they stopped the closed column's advance. |
 |
| All that achieved was to distract the cavalry from his real target; the horse gun battery! |
 |
| With the guns out of the way, it's time for the British infantry to show them how to do it! |
 |
After withstanding the British firefight, the French column is charged in the flank by La Patria! The danger faced by the supporting French column is clear, though.
|
 |
In a shot taken further back, the British are forming a line with Spanish flank support. La Patria has taken the breakthrough in the hope of spoiling the French approach across the ploughed fields
|
 |
Very close range artillery flank fire puts paid to that idea!
|
 |
| After a valiant fight, La Patria flee the field. |
This was my last success, as I was comprehensively outplayed by Darren from then on! After the British light dragoons charged the lone closed column, the rest of his infantry marched up to the blown cavalry and fired. While the British were made of sterner stuff and took the resulting casualties on the chin, the Spanish dragoons were caught in the flank and broke. This was the signal for Darren to charge his chasseurs at the remaining Spanish cavalry who bottled it, joining their brothers in a hasty flight to the rear and leaving the British flank wide open!
 |
| More French infantry advance on the cavalry. While the British cavalry stood firm, the Spanish dragoons were caught in the flank and dispersed in panic! |
 |
| With their companions running, the remaining Spanish cavalry were charged by the chasseurs. |
 |
| Usually by-standers in a battle, the chasseurs scored a smashing victory over their enemies, chasing them from the field. |
 |
| John's Portuguese cross the river in support of the Spanish |
 |
| John has everything well in hand! |
 |
| He even launched a cavalry charge across the river! |
With my flank wide open, I needed to try to stabilise it. I withdrew the light dragoons, but the victorious chasseurs followed, positioning themselves for a flank charge if I moved touched them again. That left only the battered heavy dragoons, who threw themselves into the fray. Despite being outnumbered, in column and having disorders, the dragoons managed to force the chasseurs back from the flank of the British line. With the threat now only coming from French infantry, my line fell back, copping fire and casualties, but refusing the flank to the enemy. Meanwhile a second line of British infantry was forming up behind.
 |
| Back where the action is, the Buffs have accumulated a lot of disorders and are vulnerable to a massed column charge |
 |
| Crisis! The French chasseurs have managed to flank the British line accompanied by infantry and artillery! A well engineered combined arms advance by Darren. |
 |
| Out of the smoke, the heavy dragoons come charging! The combat just avoids the rear of the exhausted light dragoons (Phew!), with the British heavies managing to chase off the French chasseurs. |
 |
| The attack on the Allied flank continues. Spanish infantry head for the hills! |
 |
| Now the British line's flank is exposed! |
 |
| Outflanked and threatened by massed columns! |
 |
| The line falls back on the woods in an attempt to refuse the flank, suffering casualties as it does so, but removing the threat temporarily. |
This was the moment that Darren launched his charge on the nearest BUA flanking the bridge. The charge traversed the ploughed fields, adding disorders, and copped incoming fire from the BUA as well as supporting fire form the nearest British infantry line. This, combined with an average pre-melee roll, meant that Darren's charge failed to push home, instead halting 2" from the BUA with an added 2 disorders with no way that the French would be able to try again.
 |
| Darren's real goal, though, is the nearest BUA. |
 |
| The charge goes in! Accurate defensive fire knocks off a figure and the broken terrain adds to the disorders... |
 |
| ...which all add up to the charge failing! |
Even with my inept handling of the Spanish flank (I suppose I could claim that I was playing historically accurately!), the task set out for the French was too difficult. I'll move the terrain around the village so that it's not such a Herculean task.
Also, having both armies enter the board on the same side made it too difficult to deploy, limiting each player's options. It'll be easier if each force enters on opposite sides of the board.
I'm also hoping that the baggage train is captured on the day!