Our Austerlitz game started with the historical units following the orders they received for the first few rounds until contact was made, then all bets were off! As Langeron, I commanded the Allied 2nd Column in the south with orders to support the 1st Column and Advanced Guard in their sweep around Telnitz (Tilnitz in the map above). My area of operation was between Telnitz and Sokolnitz, while 3rd Column (Prybyszweski) was to support my right flank in the area north of Sokolnitz. The columns to the north were to pin the French while the southern columns carried out the grand sweeping maneuver northwards. All well and good if only the French cooperated and stayed where they were...
Another factor was the fog in the Goldbach valley. If you look at maps showing the march routes of the 1st, 2nd and 3rd Columns they take an inexplicable detour well to the south before turning west and north. Once the fog was laid down on the table you could see exactly why that was the case; all 3 columns marched around the cloud of fog to avoid bumping into each other and getting completely disordered, something I should have paid heed to!
The Allies got to move first, with each commander rolling dice to determine their starting turn. The Advance Guard, naturally, managed first move on turn 4, while 2nd Column got the go-ahead on turn 8. However, only the first 3 brigades got to step off on that turn; my 3rd brigade moved on the following turn. With orders to approach the Goldbach at Soklonitz, 2nd Column plunged into the fog with all the joys that entailed. Depending on marching speed, the column deviates by a certain amount left or right determined by die roll. Of course I blundered in at full march speed (minus penalties for fog), blundered over ploughed ground (racking up multiple disorders), and deviated left, then right and left again, ending up more or less where I wanted to, but with many unwanted disorders. Knowing that having a skirmish screen out in front to guide the column would reduce the chances of getting lost, I sent my jaegers out in front. What I didn't realise was that due to their rubbish rating, they weren't able to guide the column anyway!
The 3rd brigade saw the other two disappear into the fog and thought better of following, marching around the fog-bank as the historical formation did and eventually arriving at the same point first and in a lot better condition!
Meanwhile, the Advance Guard and 1st Column had arrived at Telnitz to find the French in occupation of parts of the town. They set about screening the village in order to discourage French interference, while bombarding the town in preparation of expelling the French infantry. Our orders prevented us from crossing the Goldbach until the French on the eastern bank were dealt with, so I had to twiddle my thumbs until John S. (Buxhowden) and Paul (Doctoroff, or
Doctor Love, as he soon rechristened himself) dealt with Andrew B.'s French interlopers. That wasn't such a bad thing, as I could regroup after my adventures in the fog and knock off the accumulated disorders.
Someone who didn't have a happy time in the fog was Philip, who commanded 3rd Column (Prybyszewski), and he wasn't even there! Not able to join us for the opening moves at the last moment, Tim stood in for him and moved the paper starting footprints in lieu of the missing figures. While following orders and moving to their designated position through the fog, 3rd Column was intercepted by Andrew B.'s French who blundered into their flank in the fog and loosed off a volley. 3rd Column lost all coherence as part of it reeled back in confusion after failed morale checks.
Further north, 5th Column (Liechtenstein) under Nigel had orders to head up to Blasowitz and link up with Bagration's Corps (Tim) and the Russian Guard (Quinny). Kutuzov's 4th Column Russians and Austrians, commanded by Robin and Jim respectively, were to advance in the centre and link up with the first 3 columns' sweeping move. Of course, that was the plan; reality was somewhat different!
James F. (of
Avon Napoleonic Fellowship fame) emulated Soult's attack in the centre, marching on the the Pratzen Heights. Oudinot's (Bill's) corp also advanced in support, with the French Guard also making an early appearance in support.
Up at the northern end Lannes' and Bernadotte's (played by Vana, Jenko and Baden) Corps faced Tim as Bagratian and Quinny as Archduke Constantine, and tried to push forwards along the Olmutz road.
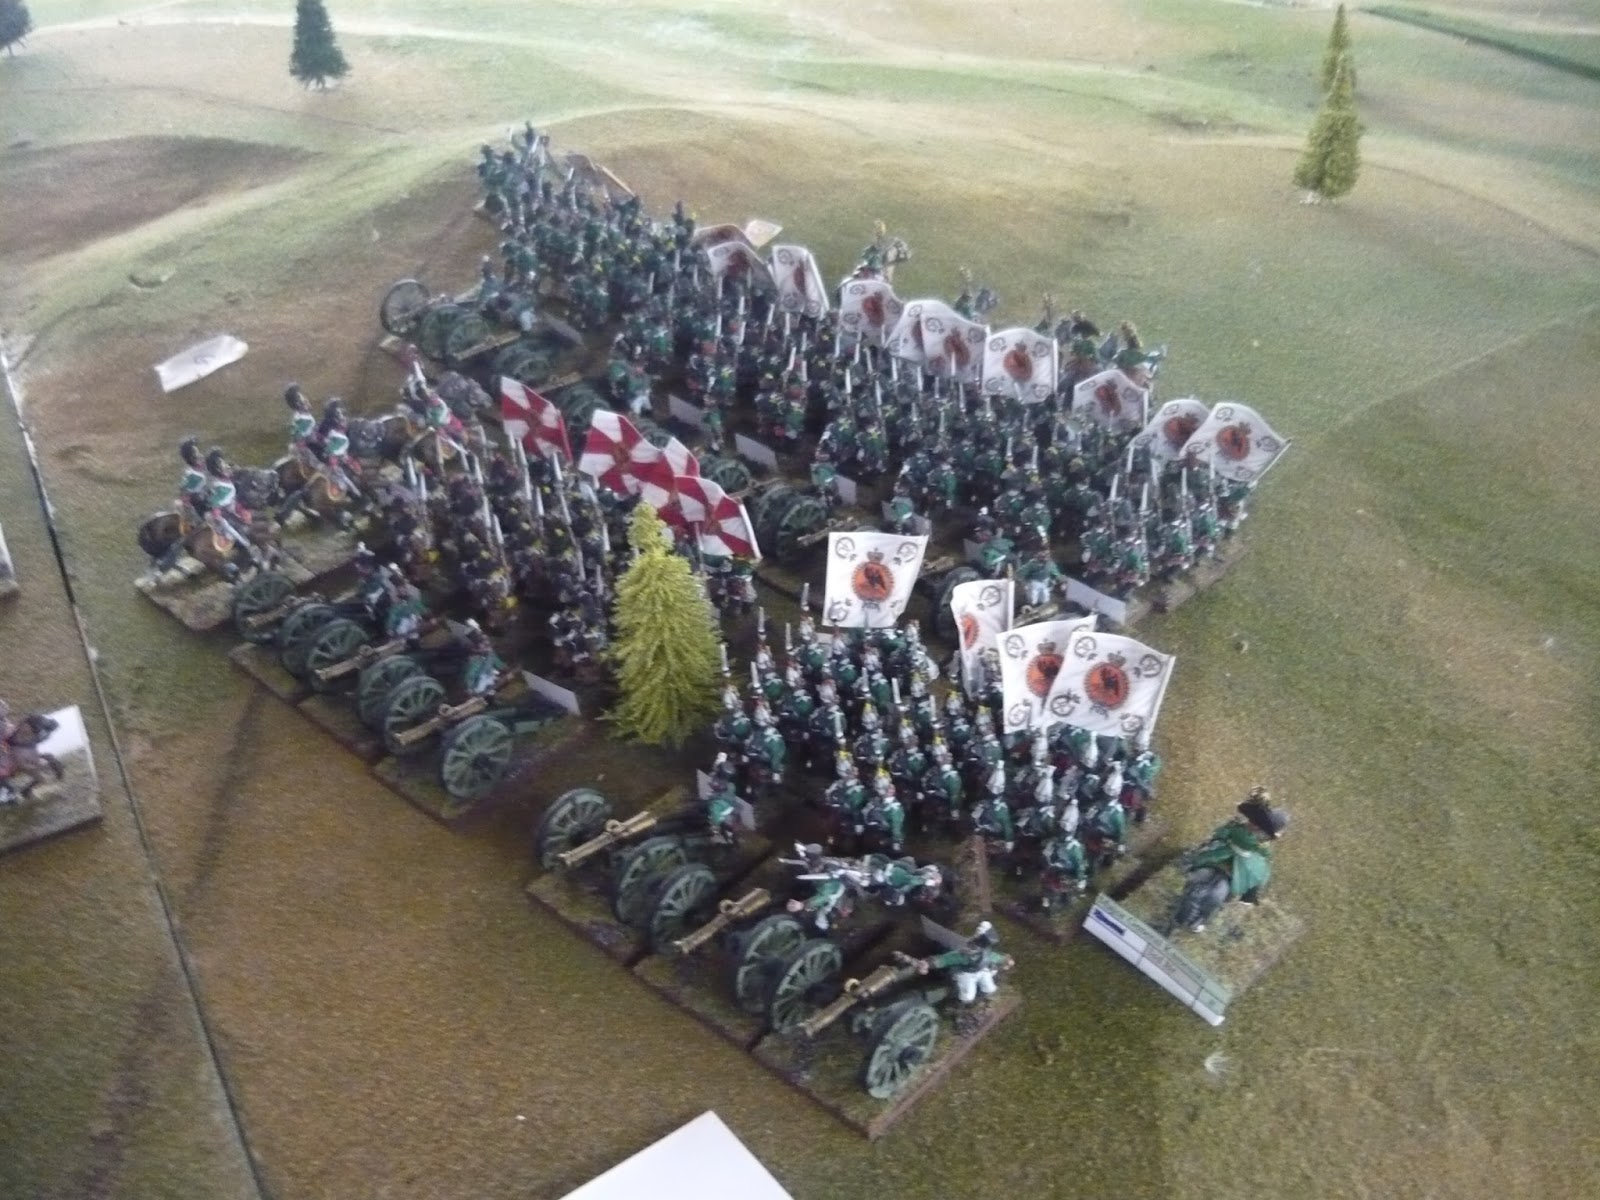
 |
| 2nd Column in its starting blocks |
 |
| Waiting for the starting marshal to wave the green flag |
 |
| Austrian cavalry of Kutuzov's 4th Column |
 |
| Part of Liechetenstein's 5th Column |
 |
| The 2 Emperors! |
 |
| Tsar Alexander, feeling confident. |
 |
| The view north from the Satschen Ponds. Telnitz at the bottom of picture, Sokolnitz and the pheasantry in the centre left. |
 |
| Telnitz |
 |
| Sokolnitz, the Castle and Pheasantry. |
 |
| The same view from the French side of the Goldbach |
 |
La Garde!
The only French formation starting on the board, not obscured by fog. |
 |
| The fog descends! Stretching along the Goldbach valley from Telnitz up to the Olmutz road. |
 |
| 2nd Column steps off! |
 |
| Buxhowden's Advance Guard skirts the Satschen Ponds en route to the are south of Telnitz |
 |
| Advance Guard's cossacks are met by French skirmishers in Telnitz vineyard. |
 |
| Advanced Guard's heavy cavalry and horse batteries face off across the Goldbach with their French counterparts.... |
 |
| ....while the rest of the force covers Telnitz. |
 |
2nd Corps halts at the fog's edge so that the Jaegers can catch up and lead the formation through the fog.
Yeah, that'll work!(not...)
|
 |
| 3rd brigade looks at the fog where the rest of 2nd Column disappeared and says, "Yeah....nuh." |
 |
| ....and heads off around the fog. |
 |
Disaster!
3rd Column gets attacked in the flank when French units blunder into them in the fog. |
 |
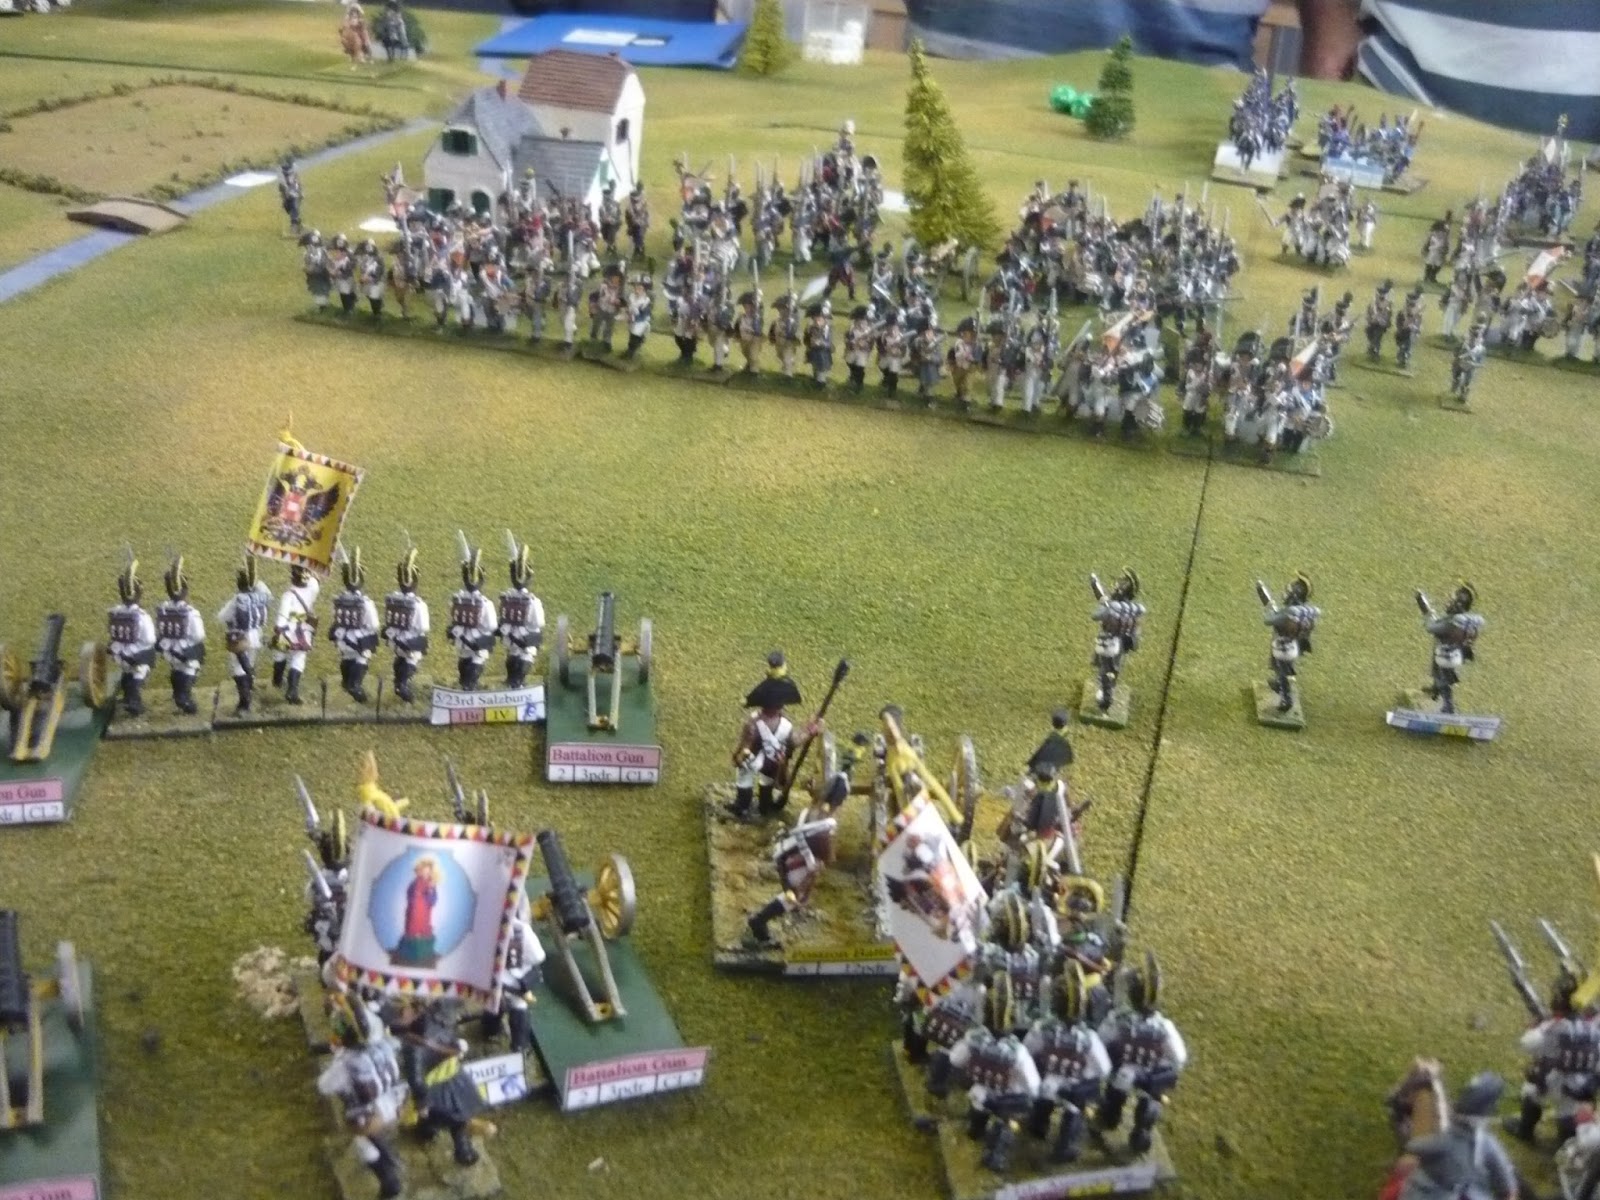
| Doctor Love and 1st Column arrive on the scene and prepare to besiege Telnitz. |
 |
Austrian infantry of the Advance Guard secure Telnitz's southern flank.
Note the marker on the artillery which indicates a lost gun... |
 |
| ...caused by long range artillery fire! |
 |
| 1st Column links up with the Advanced Guard to complete the encirclement of Telnitz from the east. |
 |
| Russian infantry approaches the vineyard |
 |
| French infantry retreat into the village. |
 |
| The fog begins to thin, exposing a French attack advancing on the Pratzen heights! |
 |
| 5th Column halt their movement northwards to confront the sudden development |
 |
| About face! |
 |
| Lannes and Bernadotte push forward towards Blasowitz |
 |
| Liechtenstein's Russian cavalry hold position.... |
 |
| ...while the French emerge from the mist! |
 |
| The Russian contingent of 4th Column begin assembling behind the 5th Column cavalry. |
 |
The view north of the Pratzen Heights. Look at all the open space closest to the camera!
Never fear; Jim's Austrians are about to be placed on the board. |
 |
| Quinny's Russian Guard form to the right of Liechenstein's 5th Column cavalry while Baden, Vana and Jenko act nonchalantly |
 |
| 4th Column Austrians enter the board. |
 |
| Soult's corps has left the fog and advances on the Pratzen heights. Who will stop him? |
 |
| The Russian Guard move north to link up with Bagration.... |
 |
| ...as the French form up on Blasowitz... |
 |
| ...as the hinge for the northern sector. |
 |
| Bagration's forces move forward towards the enemy. |
 |
Bashkirs!
These are the Bashkirs I sculpted fancy headwear for in 2011. |
 |
| The heads of my 2nd Column battalions emerge from the fog in the orchards between Sokolnitz and Sokolnitz castle |
 |
| While poor old 3rd Column tries to sort itself out, a division of Soult's French infantry turn to take it in the flank! |
 |
| Allons-y! |
 |
| 4th Column Russian and Austrian infantry shake out into line. |
 |
| 5th column cavalry shuffles its forces between 4th column and Blasowitz... |
 |
| ...forming a nice neat line with the Russian Guard on the right. |
 |
Bagration's forces begin to apply pressure on the north of the French line.
Vana hurriedly moves troops to deny Tim a nice flank. |
 |
| Meanwhile, poor Philip arrives to place his 3rd Column troops on the table just in time for them to get whacked! |
 |
| Panoramic view of the French line stretching up to Blasowitz in the centre left and on to Kollubitz and beyond. |
 |
| One brigade of my 3rd Column occupy the orchard between Sokolnitz and the castle, with 2 battalions venturing into the Pheasantry. French Guard Horse Artillery deployed behind the castle play havoc with my columns. |
 |
To minimise damage from the artillery, the columns in best condition form line in the orchard, allowing the others to shelter behind. The rest of 3rd column move into the gap south of Sokolnitz to link up with 1st Column.
Our orders transmitted via Buxhowden from further up the command chain changed to holding the line of the Goldbach. we were allowed to cross the stream up to 8" in order to facilitate the holding of the line. |
 |
So I interpreted that to mean securing as much of Sokolnitz as possible!
The Fanagoria Grenadiers cross the Goldbach... |
 |
| ...and secure the buildings not currently occupied by French infantry. |
 |
| Between Sokolnitz and Telnitz, I toyed with the idea of sending my dragoons across the muddy banks of the Goldbach to secure the left flank of Sokolnitz. |
 |
| On my right, I pushed the two regiments in the Pheasantry up past the Castle in preparation for an assault. |
 |
| However, the battalion in column would have to charge across a bridge and assault the castle held by superior French troops. In the end I decided it wasn't going to fly and orders to hold the line won out. |
 |
| The French Guard Chasseurs and Russian lancers clash! |
 |
| 4th Column artillery plays on the advancing french |
 |
| La Garde! |
 |
| 4th Column forms its Russian battalion guns into a couple of brigade batteries |
 |
| 4th Column Austrians occupy the Pratzen heights before the French get there. |
 |
| 3rd Column's resistance becomes even more difficult with their flank turned! |
 |
| A frontal charge after the flank move puts paid to 3rd Column, and ends Philip's role prematurely! |
 |
| My move into Sokolitz continues apace. |
 |
| My dragoons have successfully crossed the Goldbach to support my move on Sokolitz. |
 |
| Up in the north, the Russian Guard infantry deploy on the right flank of the 5th Column cavalry |
 |
| More Russian Guard infantry and cavalry deploy, while another cavalry stoush develops in the centre. |


So, so impressive!
ReplyDeleteLooks great, and huge...Nice looking fog, interesting and most important in this battle...
ReplyDeleteEpic - well done!
ReplyDeleteWell, just Wow!
ReplyDeleteFabulous report of the opening moves of that epic and most enjoyable game. Great that you managed to keep abreast of all that was going on across that huge table. Looking forward to the next instalments!
ReplyDeleteWonderful looking report and great to see so many early period figures on the table. Authentic and entertaining! Looking forward to the next report gentlemen.
ReplyDeleteGreat looking game and narrative!
ReplyDeleteSuperb looking game and report!
ReplyDelete