Don't panic, Mr. Mainwaring! Don't panic! It's just the final battle report for 2017!
Well, this was supposed to have been posted before the end of last year, but you know how things go... So Happy New Year to you all and I hope 2018 features more wargaming than you can handle!
This game featured Garry and I as the Franco-Allied side vs. Tim and newcomer Paul C. as the 1812 Russians. Garry had all French, while I continued with my heterogeneous Neapolitan/Italian/French force. While Tim and Garry faced off, I opposed Paul. All the Russian figures belonged to Paul, having bought the lot from Tim, who seems to be divesting himself of his older Minifig collection.
I started off with my Neapolitans in the centre, lead by the Guard Velites and Voltiguers, while my Franco-Italians held the right flank. My Italian dragoons and Neapolitan chevau-leger were positioned in the centre of my force, while my remaining Italian chasseurs held the right flank.
For Paul and I, it was a race to see who could set up a battery on the closest ridge. I managed to do it first as Paul has a typical Russian's lust for firepower and elected to use 12 lb artillery batteries which take a lot more effort to move and unlimber. My 6 lb Italian foot battery was set up ready to fire with cavalry support, while his battery was still limbered on the reverse slope of his ridge with cavalry support. I'd also snuck my dragoons up to threaten any movement over the crest of his ridge; whether he moved his supporting cavalry or the limbered battery first, he would risk triggering an opportunity charge from my dragoons (not a fair trick to pull on a newby, I know, but he'll learn from it I'm sure!). That certainly put sand in his gears early on, but allowed me room to breathe, because if he'd managed to unlimber his battery it would have dominated the battlefield and limited my options for the rest of the game.
While my cavalry lurked in the centre, holding things up, my infantry advanced on either flank. My Franco-Italians went to the right to deal with another 12 lb battery and its infantry and cavalry support, while on the left my Neapolitan Guard units advanced on the centre in order to threaten the flank of any advance by Tim's main force (he later said that he assumed I'd be focussing on Paul's threat in front, and my lateral movement threw his plans out the window!). The main action in my battle therefore was out on the right flank. Paul had occupied a wood with a skirmished jaeger battalion in an attempt to protect the flank of his other big battery of guns. My best troops, a French brigade of light infantry, moved through the woods, pushing aside the jaegers, and charged the supporting infantry column as it moved into the woods. After the enemy infantry was repulsed, it was the turn of the cavalry who failed to react to the infantry threat, and stood to receive a volley in the flank. The resulting morale test saw them break and run! Huzzah!
Still, the artillery was a problem. It was able to unlimber and then blast away at the nearest column in the woods. While it was taking heavy damage from close range fire, it protected the rest of the brigade moving up. It was of a high enough morale rating that it survived repeated morale tests caused by heavy casualties.
Back in the centre, Paul came to the conclusion that my cavalry had to be dealt with, or he might as well pack up and go home. To that end, he sent his hussars at my guns. The nearest Neapolitan infantry battalion formed square (a miracle in itself!), so the gunners fled to the square, allowing the supporting Neapolitan chevau-leger to counter charge. The outcome was never in doubt, but I had hoped that they'd put up a better fight than they actually did! The Russian hussars manhandled the chevau-leger roughly, causing them to break to the rear. In the resulting test for control the hussars went battle-mad and had to take the breakthrough move, which landed them deep in my territory, right in front of my square and with infantry ready to pour fire into both flanks!
Still, when you're on to a good thing, it's time to keep the pressure up! Paul launched his cuirassiers at my dragoons. With the breaking chevau-leger close by, affecting my pre-melee check, I knew that it would be a tough assignment, but again my dice let me down; the dragoons were forced to retreat with casualties. While not a total disaster, it still let Paul free his guns and changed the complexion fo the game up to this point.
Out on the left flank, Tim pivoted to pay attention to my Guard brigade and let his artillery rip. My new Guard Voltiguer battalion copped the brunt, so I had attached the general to it to keep it steady. Of course, the danger of doing that is that it increases the chances of the general becoming a casualty. So, what happened? The general became a casualty, of course! Luckily, Murat was away talking to Garry's commander at the time, discussing general strategy, and not attached to this unit. Two deaths in two games for Joachim would have been a touch galling! Anyway, the Neapolitans shook off the general's death and awaited the replacement commander with stoicism.
After dealing with the Italian dragoons, the Russian cuirassiers were vulnerable to my approaching infantry closed columns which were now appearing after skirting the burned out village and woods on the right. Paul had also spotted this and was moving infantry up in support. Neither of us were able to get enough troops up in time to land a knock-out blow, but that allowed him time and space to finally unlimber his 12 lb battery in the centre. There were only a couple of battalions out in the open in closed column to act as a block against the cuirassiers, so they copped a pasting before moving back.
Paul sensed the tide had changed and began an advance in the centre closest to Tim's formation, with some of his reserve units, heading towards my Guards brigade. If Tim and Paul co-ordinated their advance, I thought I could be in trouble. To mitigate the artillery fire from Tim's guns and to maximise the firepower directed at a potential Russian charge, I put the Voltiguers and one Velite battalion into line, while the second Velite battalion joined in ganging up on the still isolated Russian hussars. The hussars then copped fire from both flanks as well as from the front, which proved too much for them, causing them to bolt for the rear.
By this stage, it was obvious that Garry was gearing up for an attack on Tim's main formation after putting pressure on Tim's right flank. I felt that my left flank was safe as a result, so put my Guards back into column in preparation to meet Paul's advance, or go onto the offensive myself. I still hoped to get rid of the cuirassiers in the centre and then into the flank or rear of the 12 lb battery. That was turning out to be harder than anticipated, as my battalions were losing cohesiveness in transiting the woods and deploying into a narrow space, as well as being confronted by enemy infantry once they arrived in place, making it difficult to shed disorders.
His other 12 lb battery still dominated the right flank, too. It was weakly supported by a single infantry battalion in square. I was sending my Italian chasseurs up to threaten the battery under the cover of an infantry battalion which had fanned out in line in order to protect the cavalry column and to lessen the effect of the gruelling fire.
This is where the game ended fairly much, as Garry launched the anticipated general attack on Tim, who then flubbed his counter-charge by halting at 2" with 2 disorders; instead of charging through the guns, Tim's troops stopped in the middle, causing even more confusion. However, Garry's roll also wasn't the greatest which meant he failed to push home the advantage. He had purposely left a gap in his line into which he now threw his dragoons, which finished the job his infantry started. With Tim cracked open like a nut, the French were declared the winners.
My Franco/Italian/Neapolitan force ready for duty!
Paul's big guns.
More big guns and supporting infantry.
My guns get to unlimber while Paul's are trapped by my dragoons limbered on the reverse slope! Tim's troops advance behind the village at the top of the picture.
On my right, the Italian chasseurs spot the enemy!
My Neapolitan infantry pivot to confront Tim's advance. Time for another plan, Tim!
Paul's battery stuck on the reverse slope, while his infantry advance on the flank.
Paul's combined arms foray around my right flank
Paul occupies the village as Tim's troops march on its far side. His infantry and reserve hang back while his artillery is stalled.
Paul advances his cuirassiers and throws out a vedette in response to my dragoons' aggressive first move.
Out on my right flank, the light infantry clears the skirmishers from the woods and moves up on the Russians' flank
Combat in the woods. My light infantry prevailed, leaving the cavalry and artillery exposed to flank fire.
An Italian infantry battalion occupies the burned village, while the remaining French light infantry moves past.
My dragoons prepare for the Russian response, as well as throwing out their own vedette.
King Joachim in consultation with the commander of the Left Flank (Garry)
Garry's forces clearing the Russians out of the woods (blurry action photo!)
Tim's main force pivots slightly, bringing his guns to bear on the Neapolitan Guards brigade.
The guns fire, taking two figures from the Voltiguer column....
...and killing the general with the second shot!
Back on the right flank, the guns unlimbered and hammered the nearest column, but it survived, allowing a shot on the cavalry which spectacularly failed the morale test and fled, outpacing the already retreating infantry!
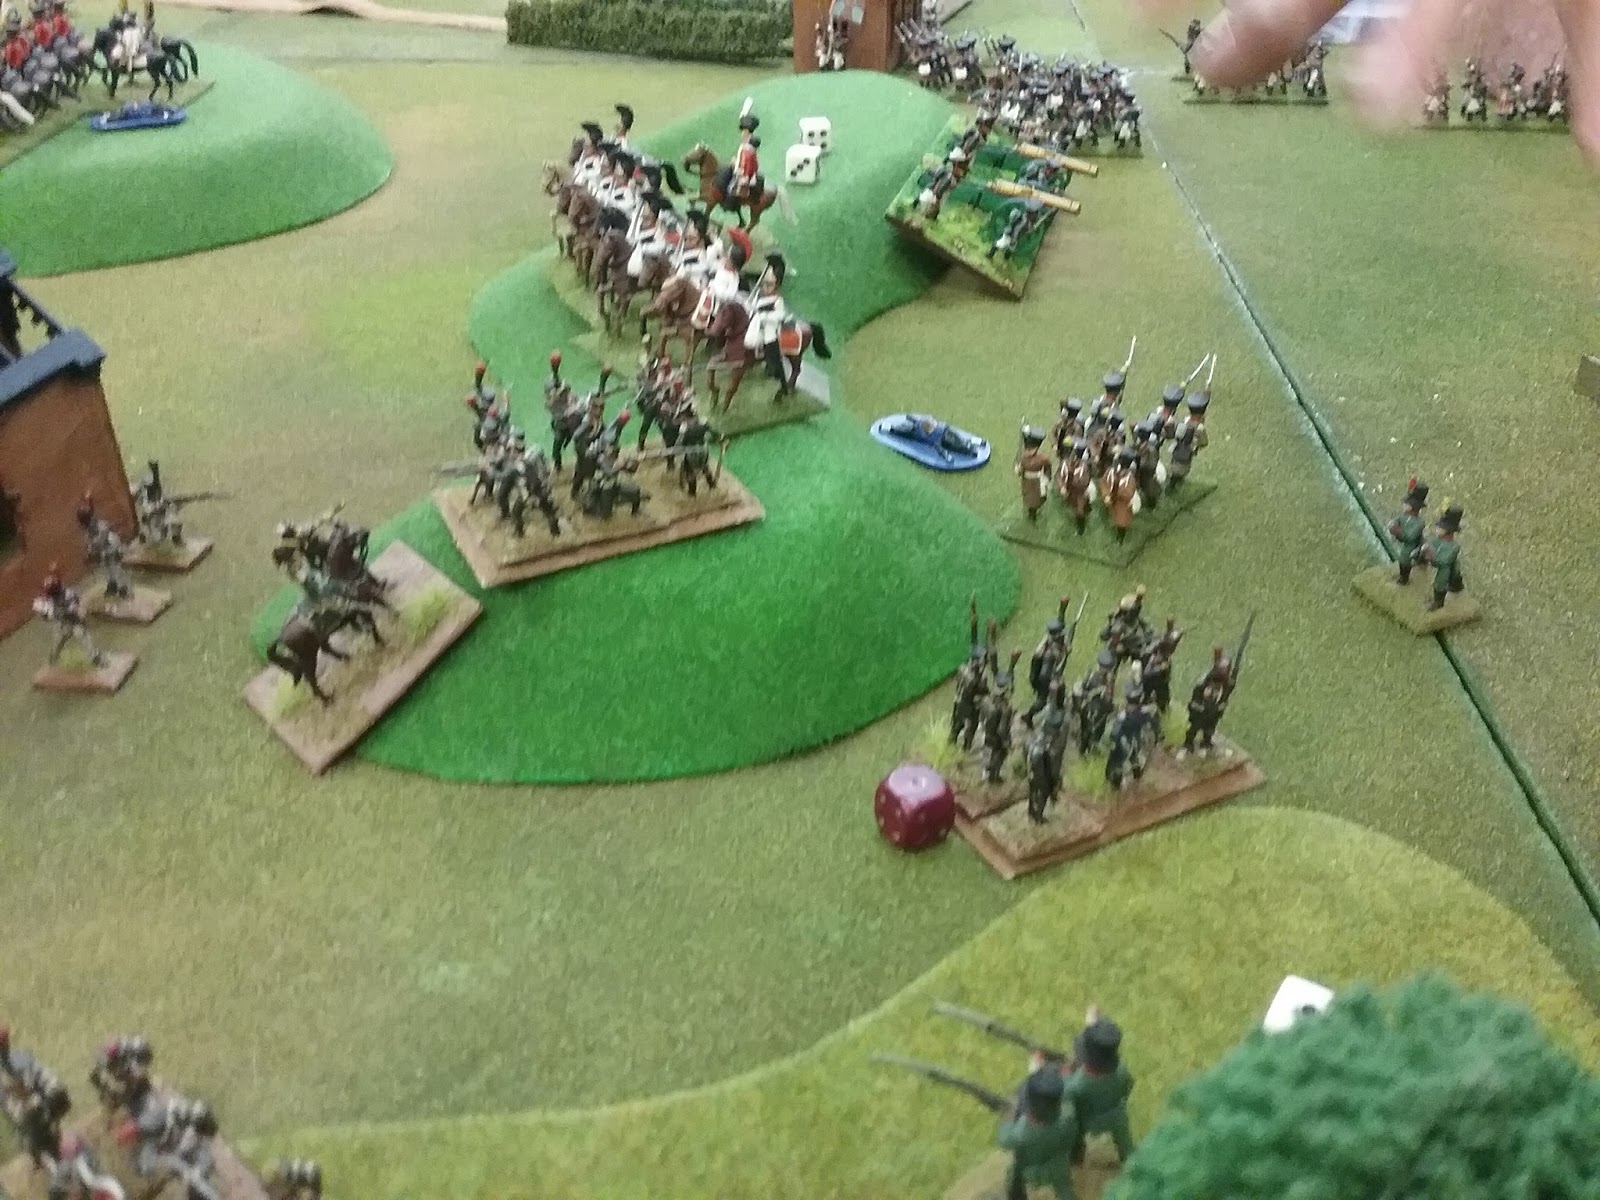
The Russian hussars charge the Neapolitan chevau leger...
...with predictable results!
The artillery crew manage to flee to the nearest square, while cavalry go battle-mad, forcing to take the breakthrough, landing them in the middle of a hornets' nest!
Cuirassiers then charge the dragoons, who counter-charge....
...only to be forced to retreat with losses
Italian chasseurs advance up the right flank under cover of French infantry line, forcing supporting Russian infantry in the distance into square.
French light infantry advance in closed column to threaten cuirassiers' flank. Russian infantry move up in support.
Russian guns in the centre finally unlimber, causing grief to the nearest infantry columns.
Paul's infantry advances beyond the occupied village in the centre of the battlefield.
"OORAAH!"
The Neapolitan Guard deploys in line in response, while the Russian hussars get flanked.
Out on the right, things are getting messy!
The Italian chasseurs approach trying to get into the flank of the guns and supports before falling off the edge of the world! The covering infantry line stoically cops casualties.
Garry gears up to attack Tim's main force.
Time to put Paul's hussars to flight.
Fire from directly in front and from both flanks...
...sees them break for the rear! Huzzah!
Garry puts a charge in at the top of the picture, penetrating deep into Tim's defensive line.
My Neapolitans, led by the Guard, form up for their own attempt at glory!
"Per Napoli, ragazzi!"
But Garry steals my thunder...
...by charging Tim's main infantry force...
...which halts a 2". Garry's attack also fails to push home....
...but his dragoons puts an end to it, by charging home through the gap left for the purpose in the infantry formation. Game Over!